Compressor
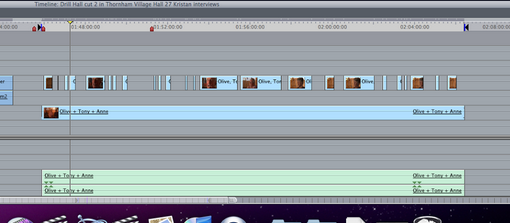
The next step is to send the chosen clip to Compressor,this is done by clicking "File" which is located at the top of the screen then scroll down until you find "Send To" after you have selected this you will need to scroll down again and select "Compressor".Compressor should now open.

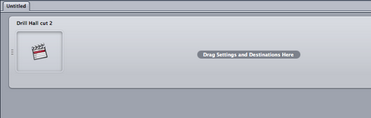
Now compressor has opened you will need to find the video and audio files.These will be found in one of the folders in "Settings".Select the folder with name according to the closest duration of the clip.In this instance it was 90 minutes.Once found drag the files up to the box labeled "Drag Settings and Destinations Here".

You will then need to select the video file which is highlighted in pink.In the "Inspector" find the "Encoder" and select the "Quality" tab.Bring the Average bit rate to 6.8 and the Maximum to 8.0.


Following that select the "Extras" tab and uncheck the box labeled "Add Studio Pro Metadata" This is to get rid of any unnecessary files.


